
Having seen my Reading E5sa, a client contacted me to perform similar modifications to a set of MTH USRA 0-8-0s. The scope of the modifications would be more narrow: I wouldn’t be modifying the tender or re-arranging the running boards, just moving the headlight and bell, adding the Wootten firebox, and changing the cab windows, and any other modifications incidental to those changes.
I started by removing the 2nd sand dome, and the generator mounted ahead of the stack.
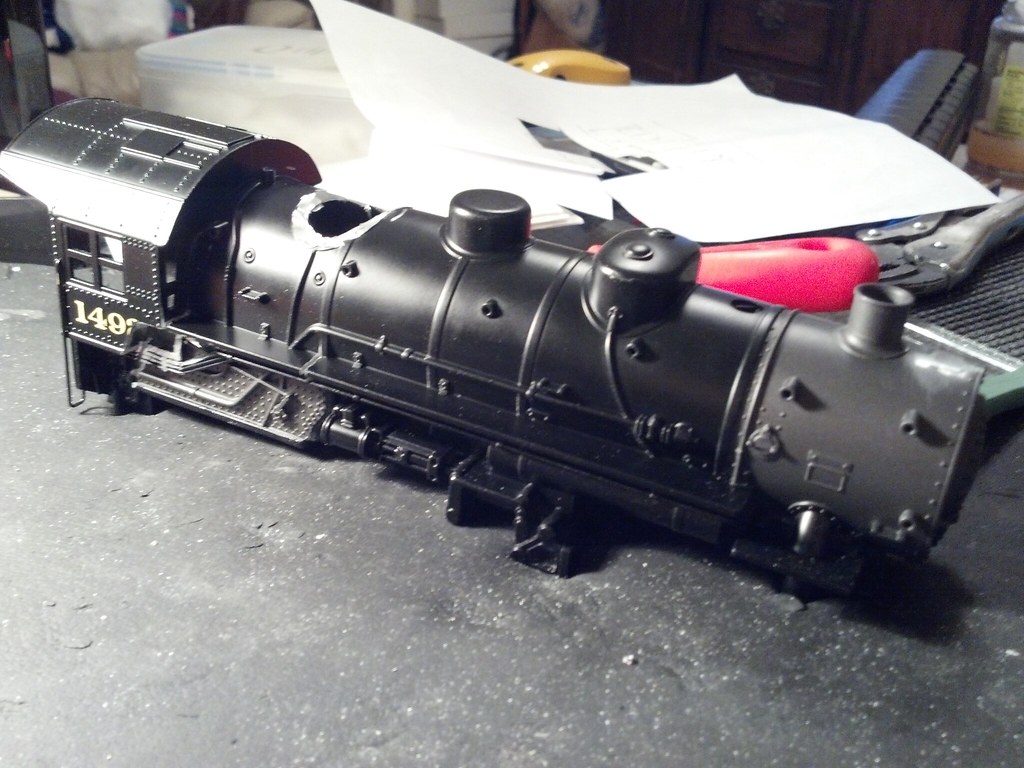
Then I started removing all the cast detail from the firebox. Since the bottom of the firebox isn’t a separate piece, as it is on the Lionel 0-8-0, I decided to remove the foot board and add it back later. I also notched out the front of the cab to match the Reading prototype.

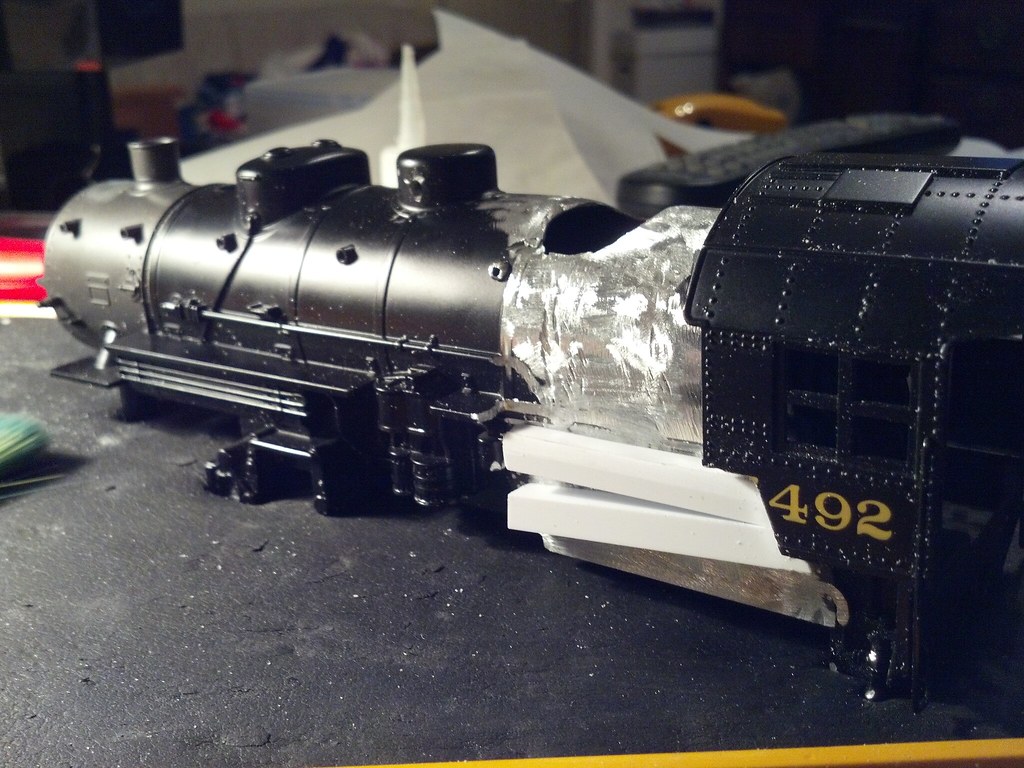
Filed smooth, I started to build up the width of the firebox with solid styrene rods.
A styrene sheet fills the hole left by the sand dome so I can fill and level this area.
A styrene plug and some putty to roughly fill and level the hole.
Various bits and scraps of styrene to fill out the rough shape of the firebox.
A new wrapper sheet to cover the firebox.

Off to a wonderful start.
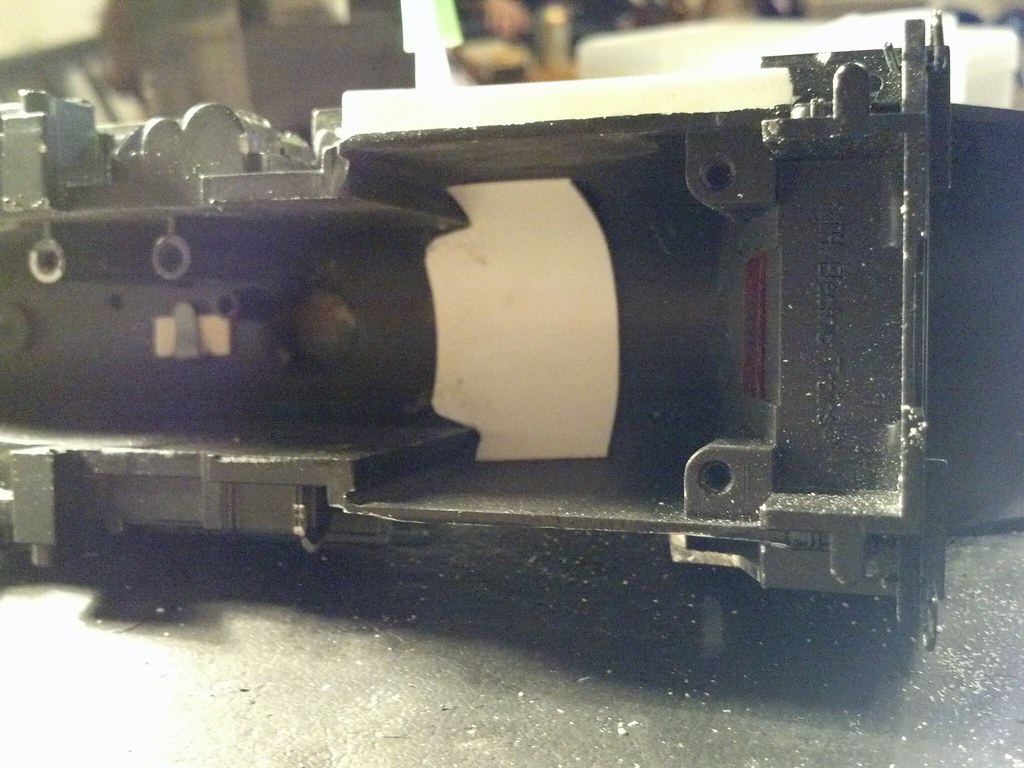
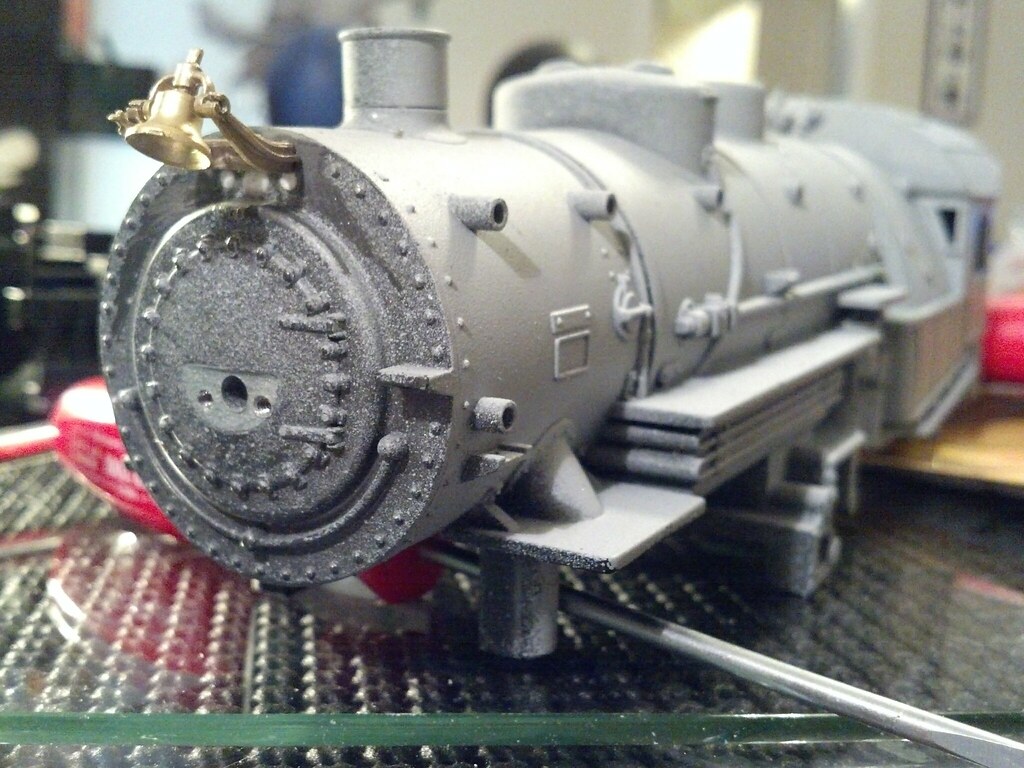
The holes for the headlight are moved to the center of the smokebox door.


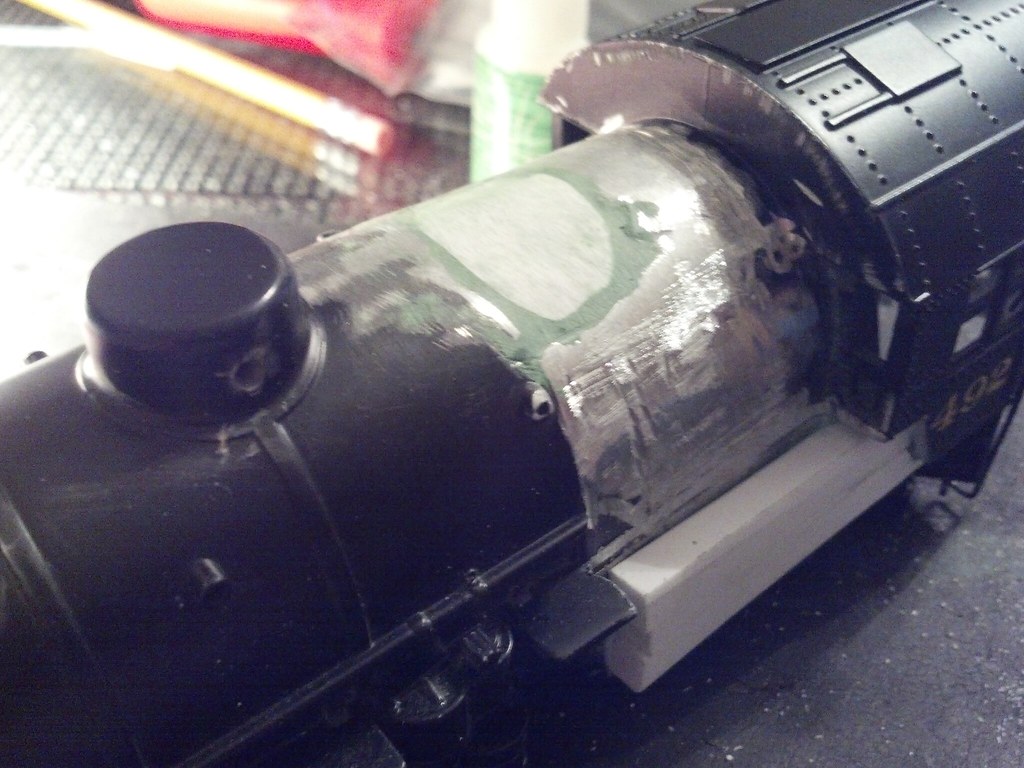
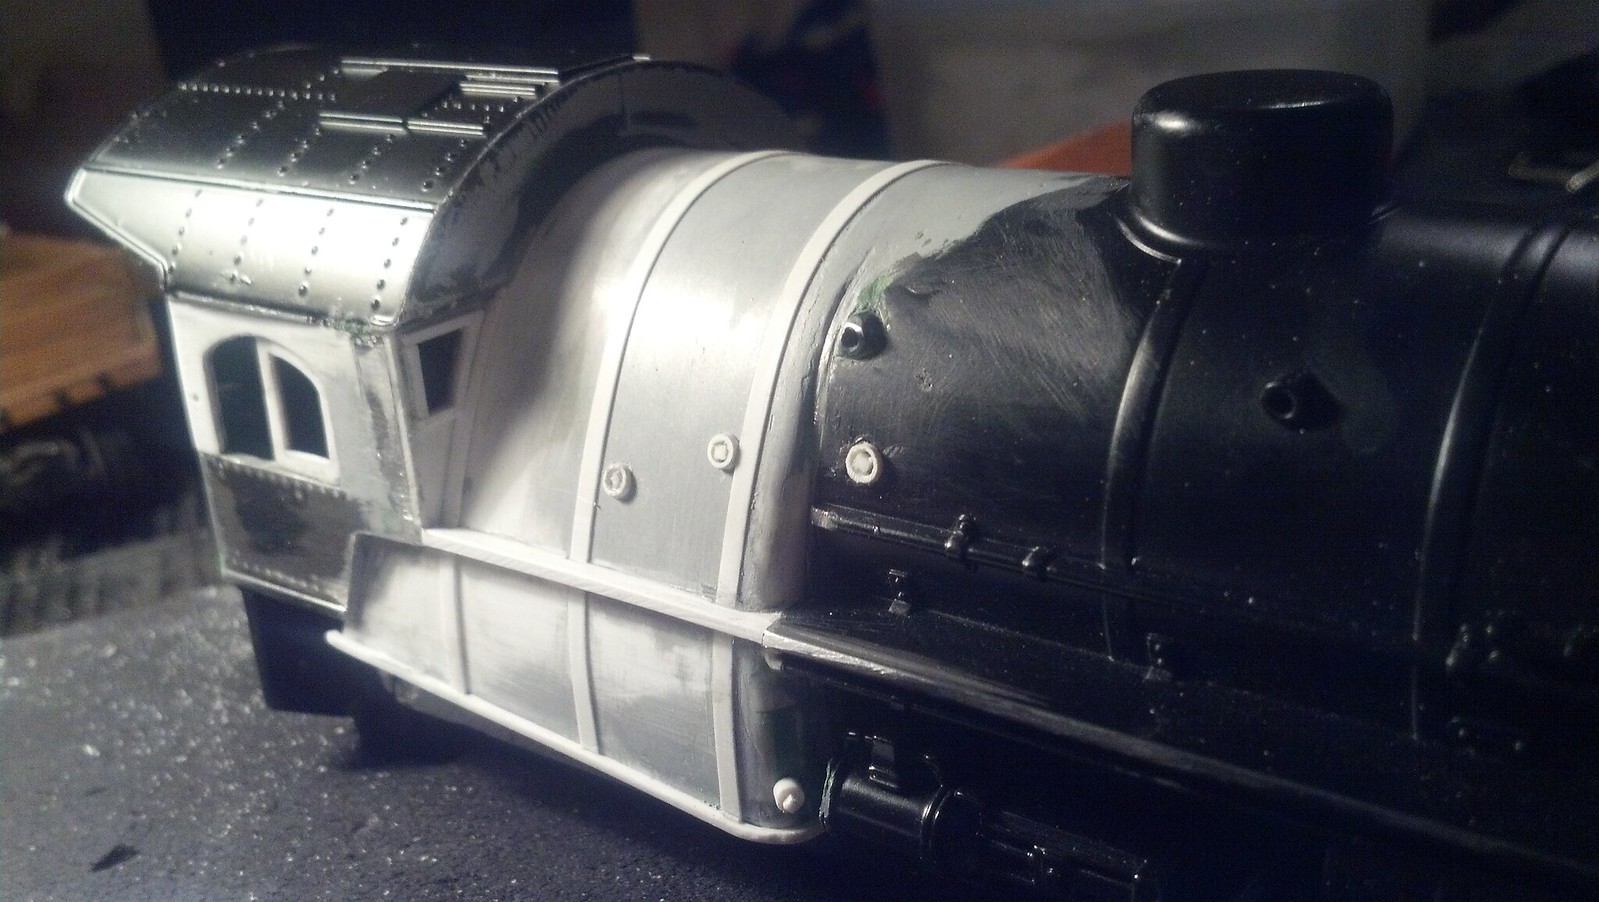
Contoured radius added to the front of the firebox, blended in with rest of boiler.
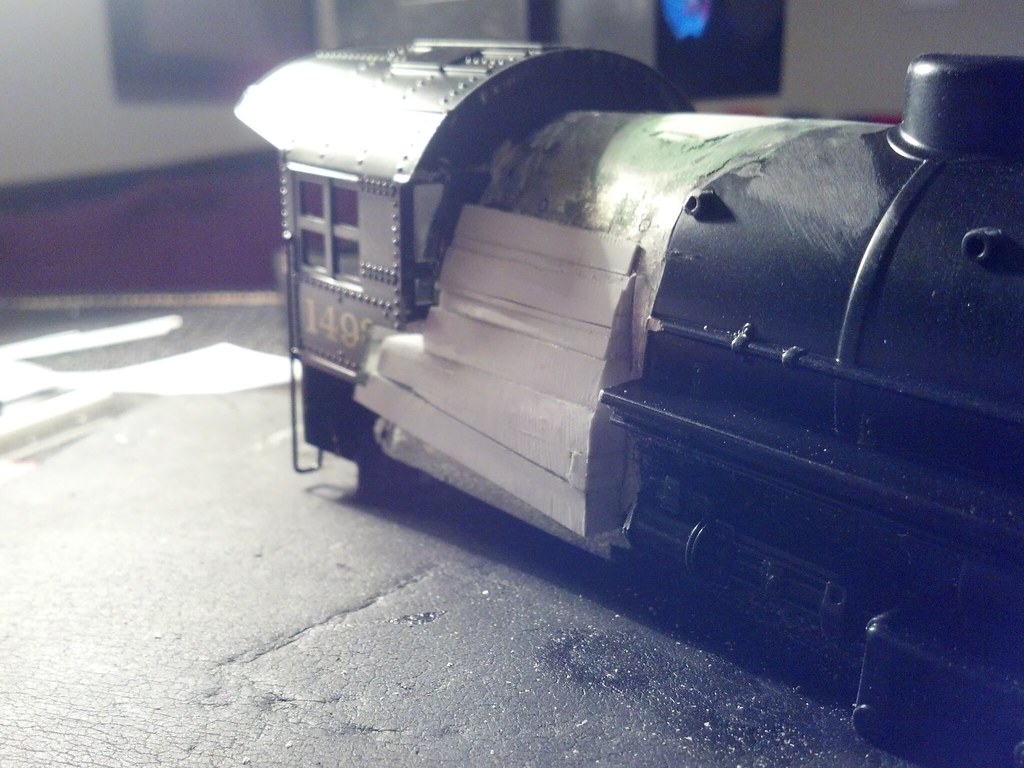
With a dremel, I remove the cab windows. Also you can see I’m test-fitting the new outer sheet of the firebox (have to widen it to match inside the cab too.)

And with the majority of the firebox in place. You can also see the lip added to the bottom of the firebox.
Cab side windows roughed in:
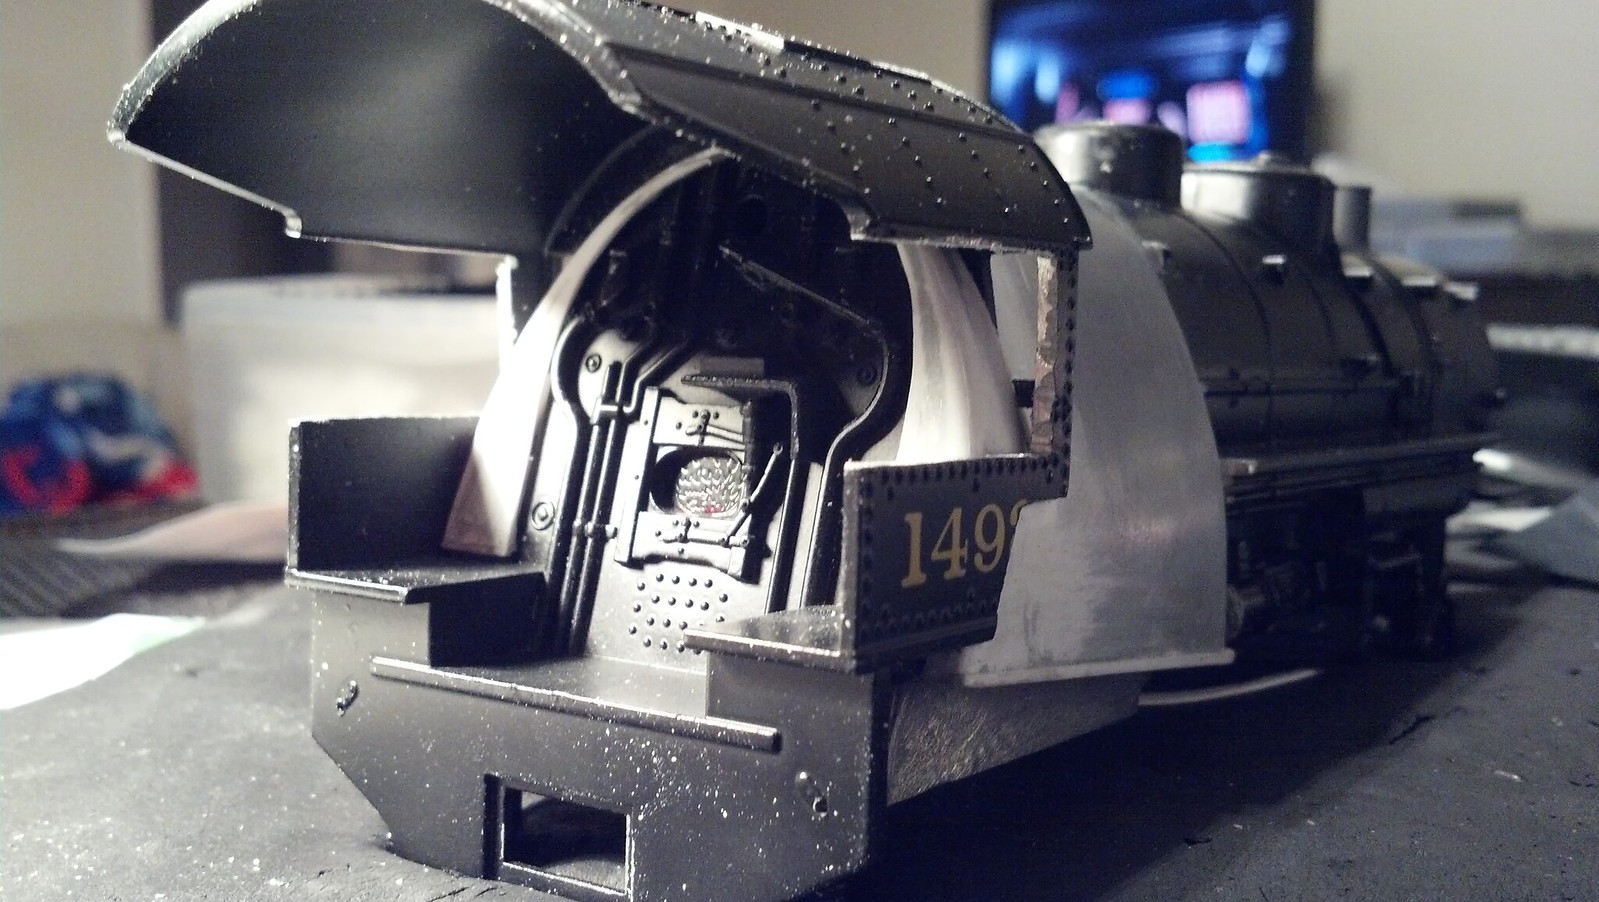
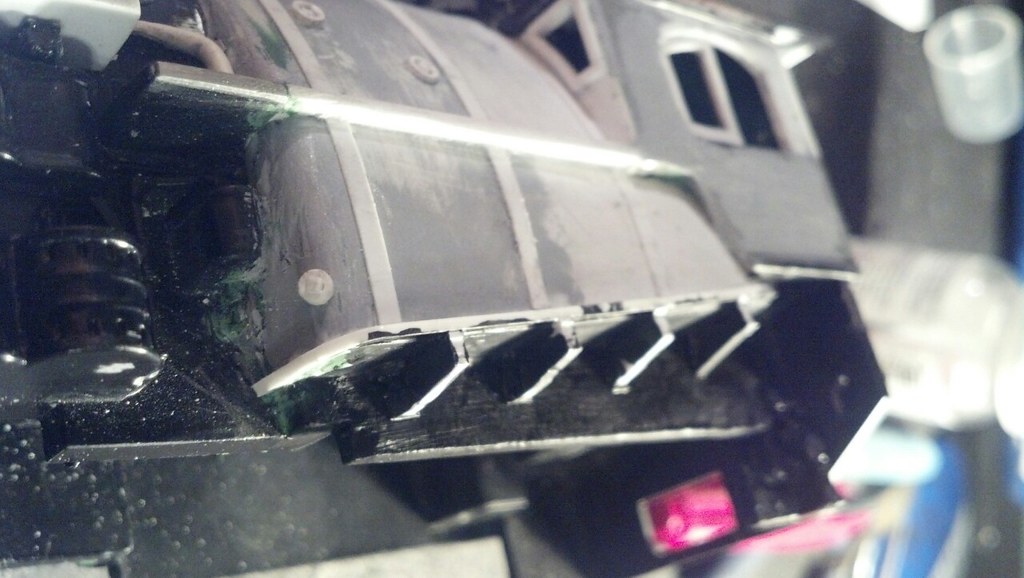
It’s not very easy to blend the seam on the edge of the firebox without grinding off all the detail and then adding it back on, so I just hid most of the seam behind some extra piping.

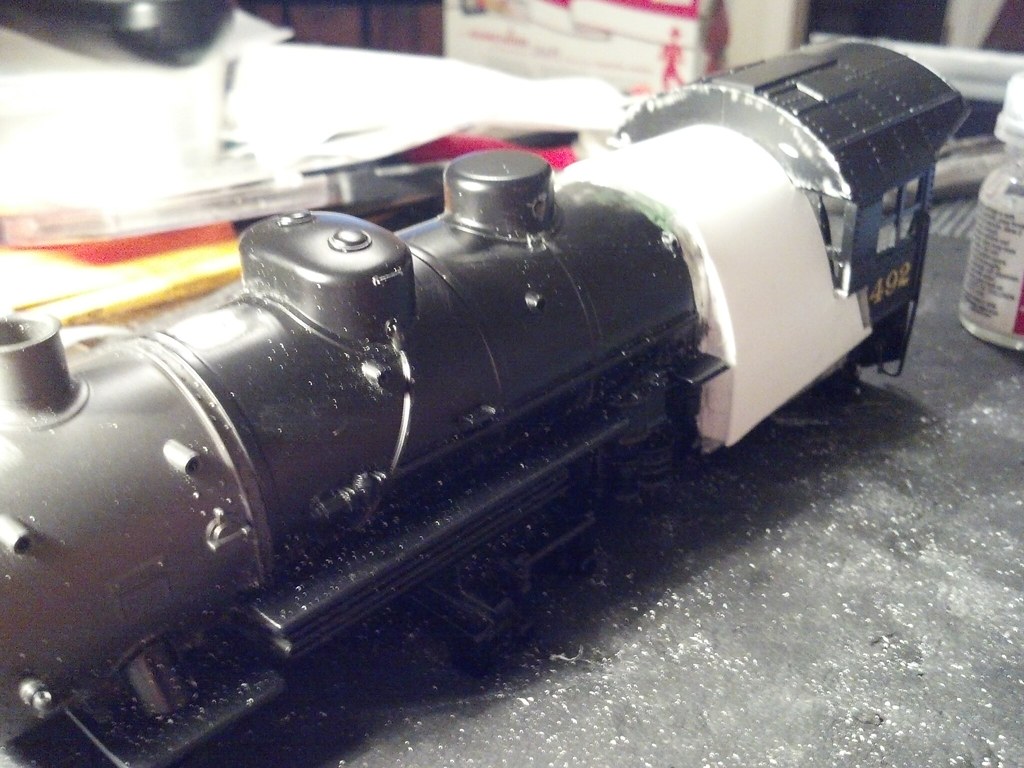
Added the cab window frames, cab backwall, and overhang detail.
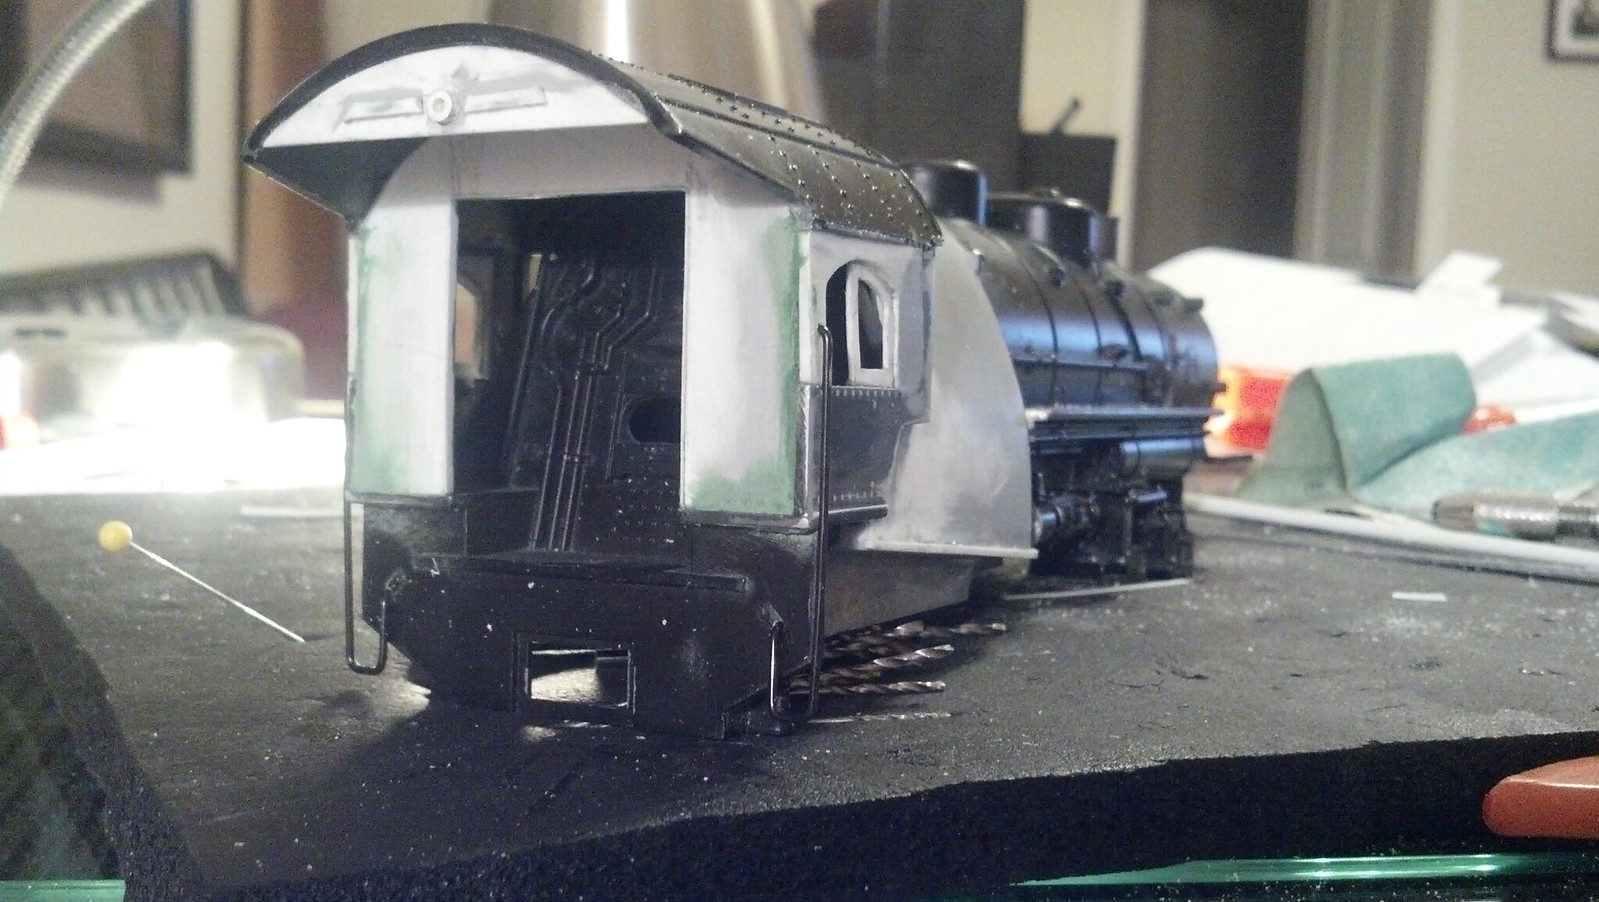
Added cab front window frames, footboards, jacket joint strips, washout plugs, and drain plug.
Adding the supports for the ashpan. With the ashpan in place, it will be hard to get a good coat of paint, so I just slopped some flat black on there with a brush.
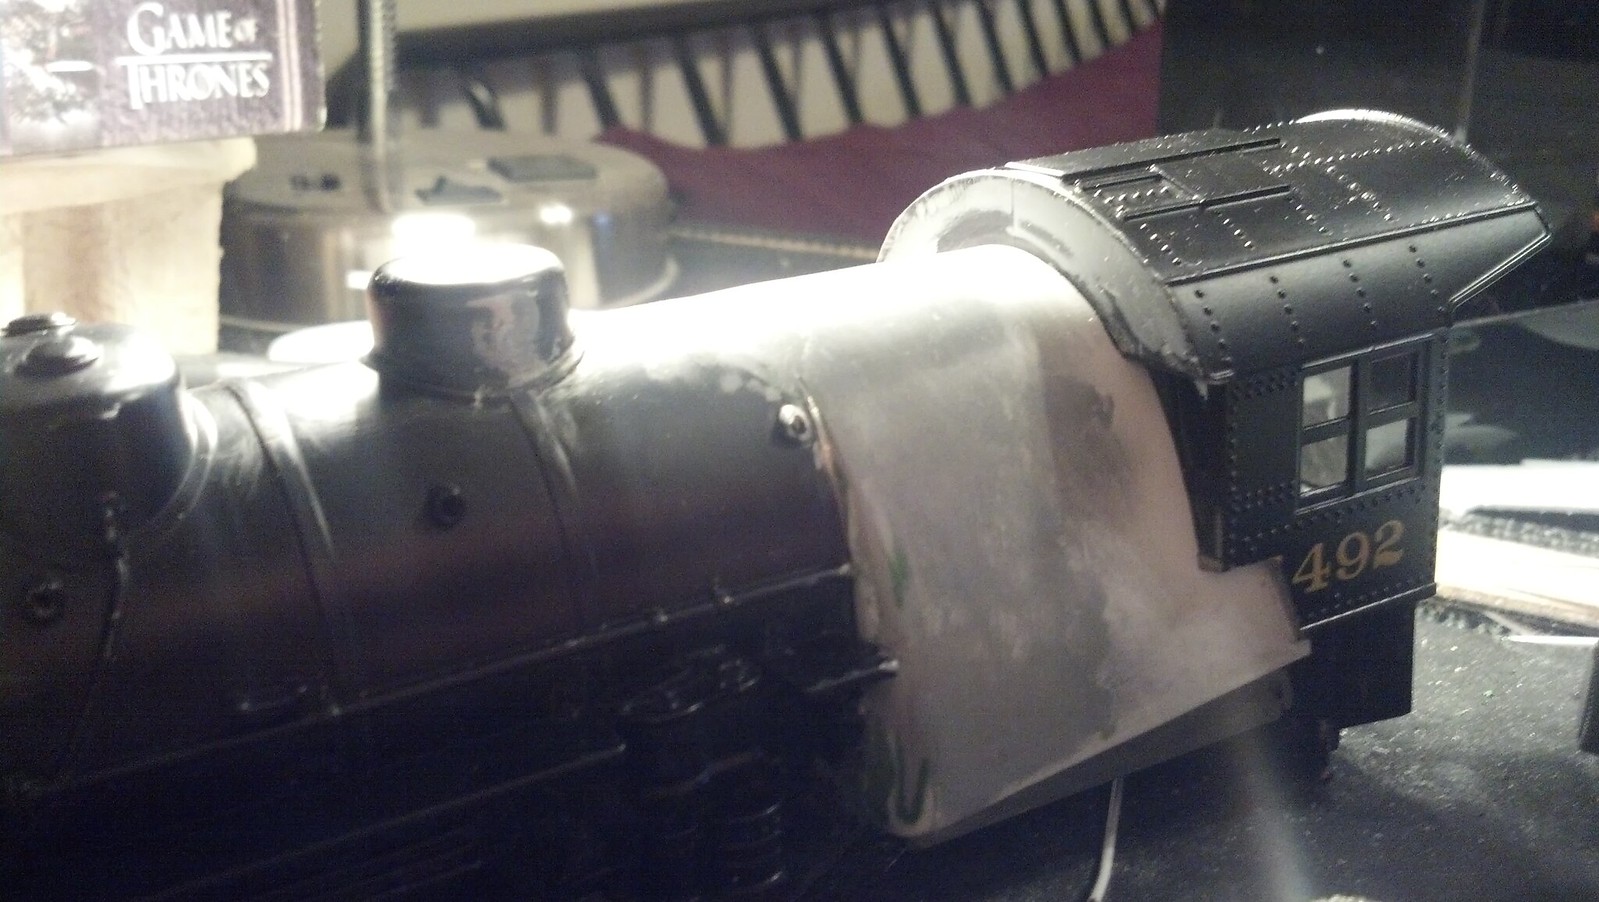
With the ash-pan in place, I connected the piping that I interrupted when I removed the details from the firebox. Also, I nicked one of the handrail mounts when I was grinding off details, so I reconstructed it out of styrene. Also, you can see that I painted the inside of the cab back wall green before I installed it, because it won’t be so easy once it’s all assembled.

Same treatment on the engineer’s side.

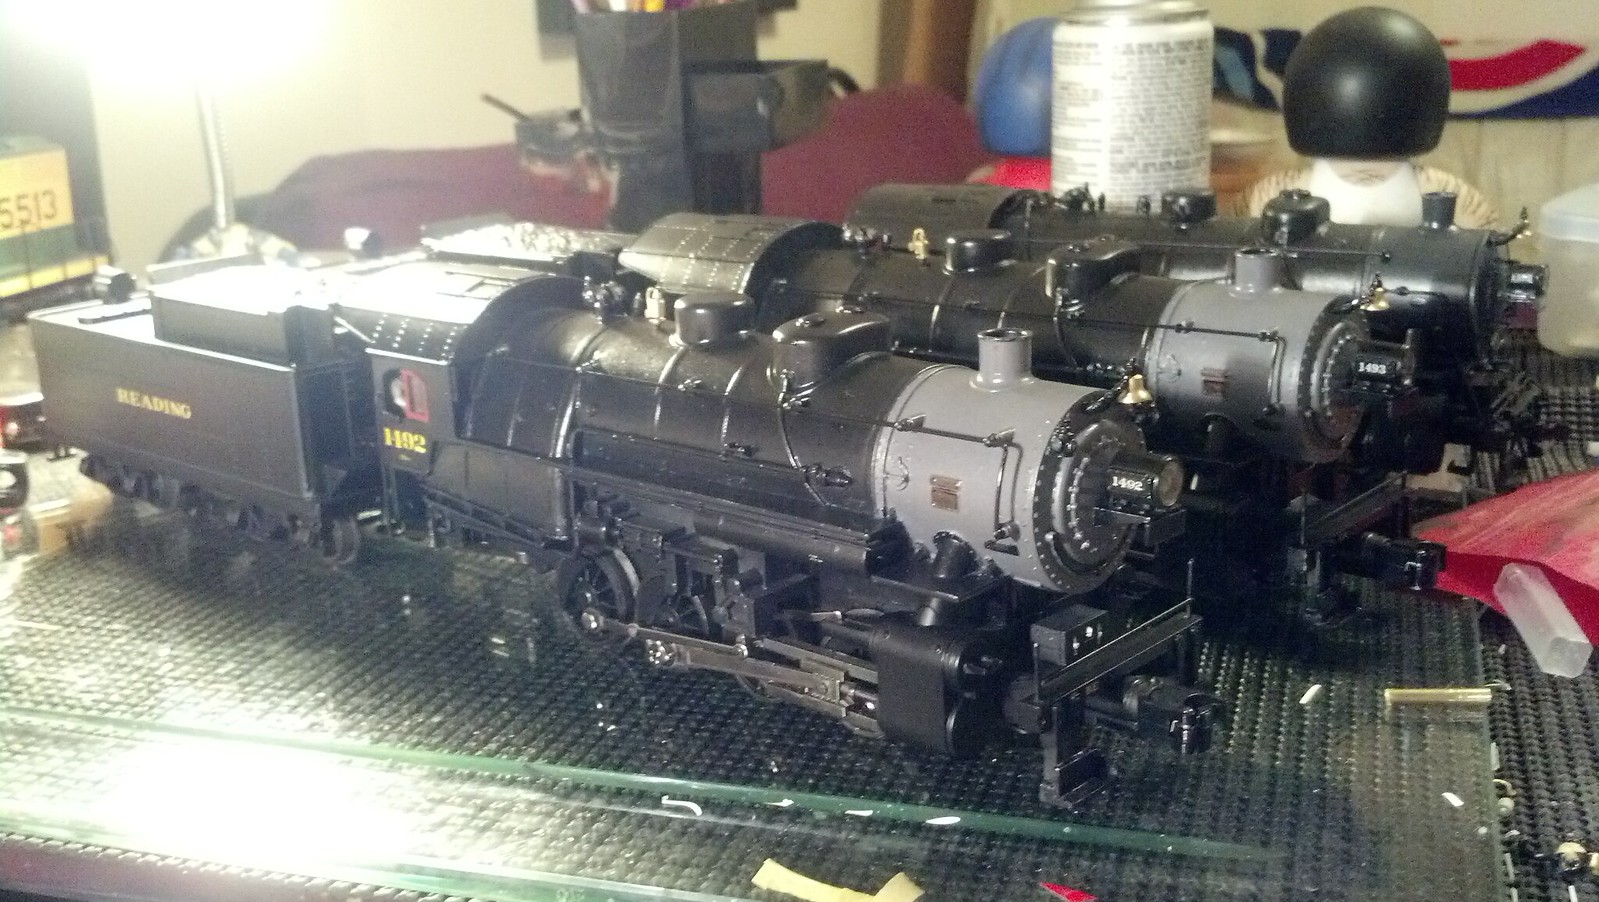
Now imagine me doing all that again to the 2nd engine. Ok, so that gets me here, where I’m starting to add some detail parts: generator, whistle, safeties.
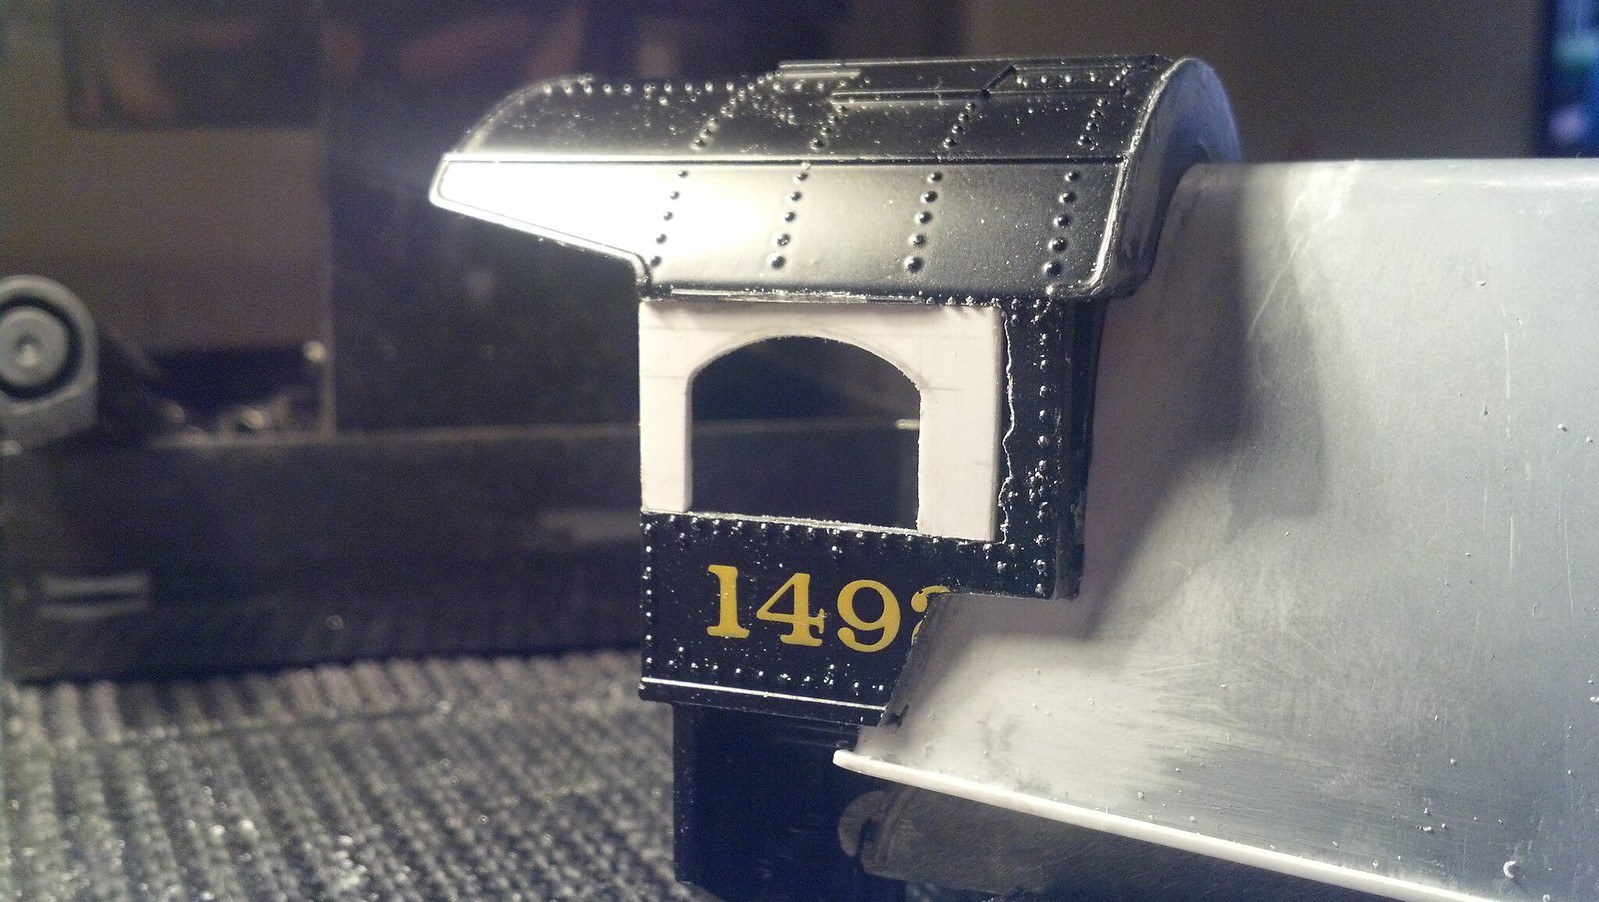
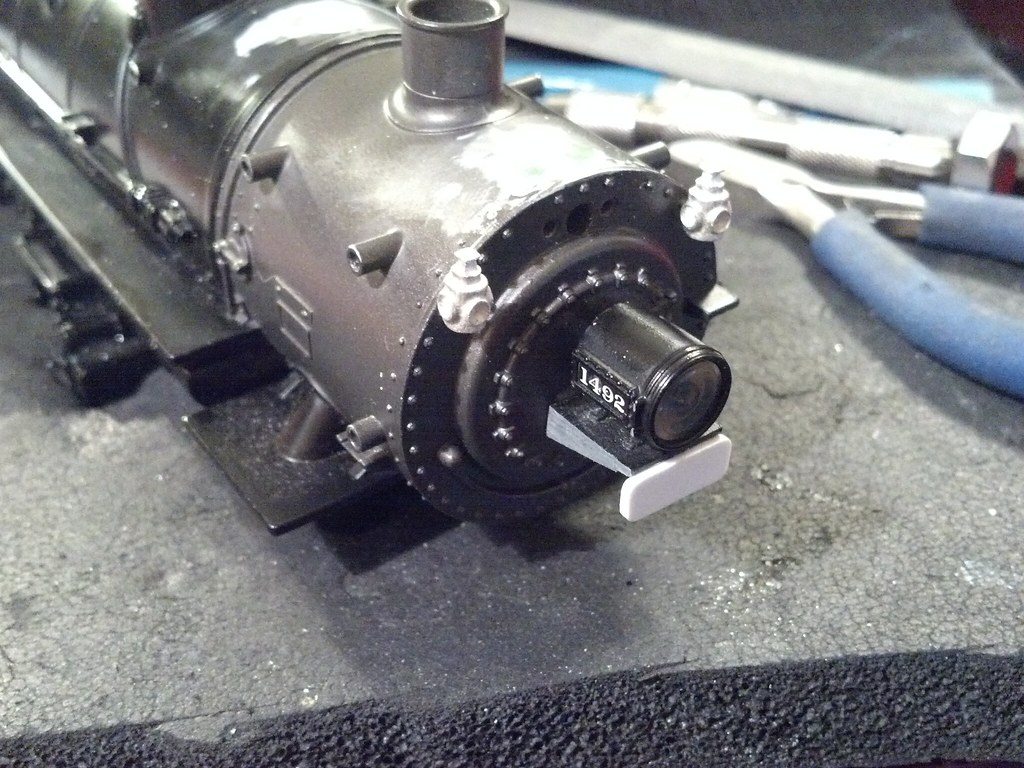
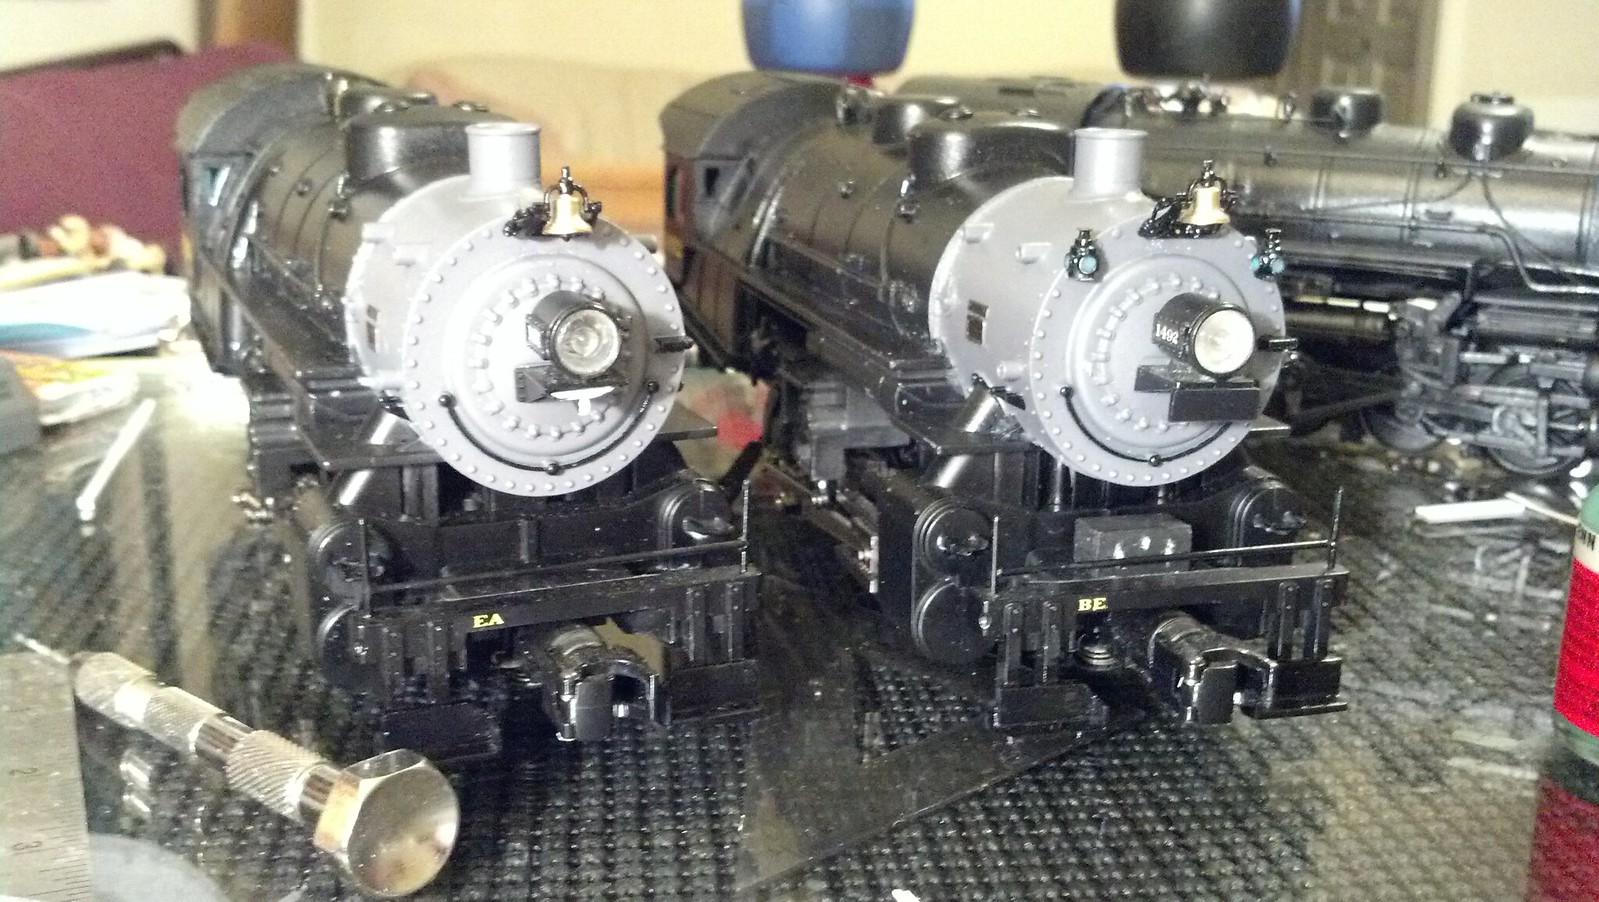
The client specified that the engines be numbered #1492 and 1493. Out of all my reference pictures of E5sa’s, only one showed up with marker lights: 1492. So I decided that, to set them apart, #1492 would get marker lights and the pilot tool box (which some engines had and some didn’t.)
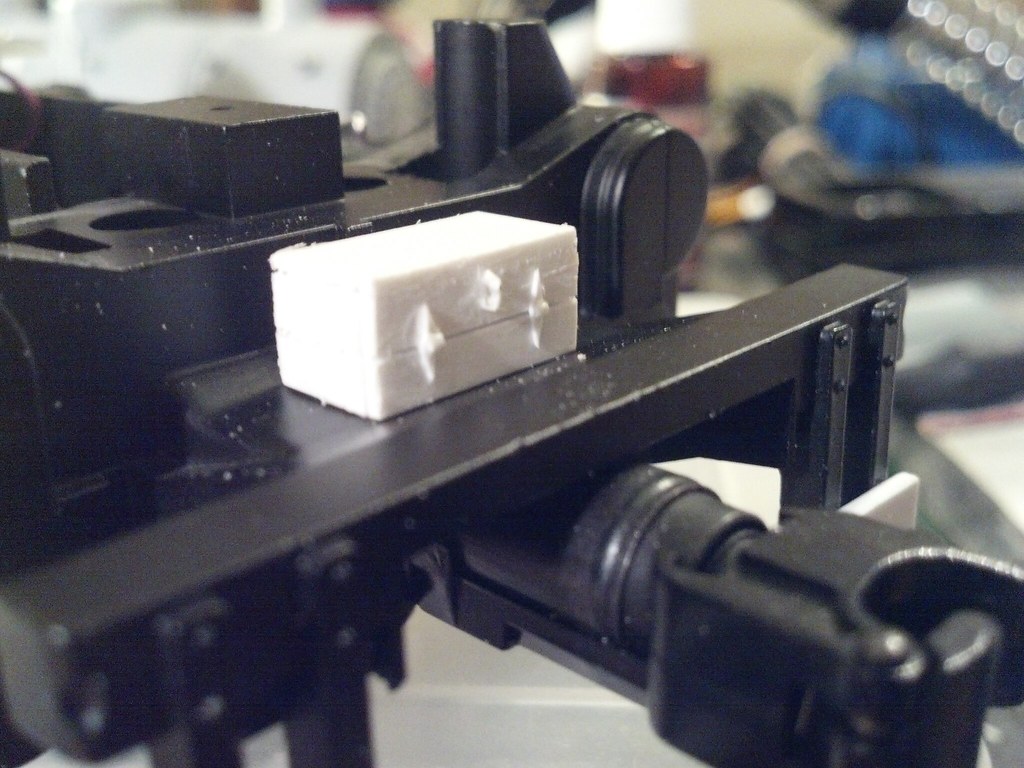
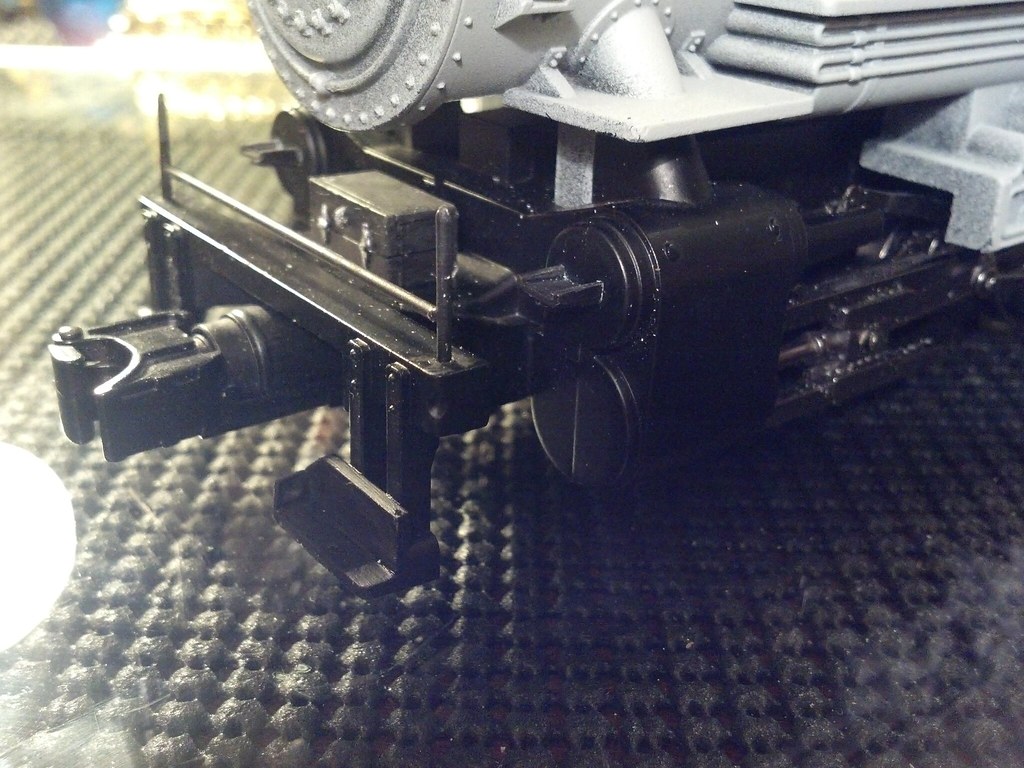
A built up the pilot footboards, added the pilot grab iron, and the steps mounted to the front valve covers.
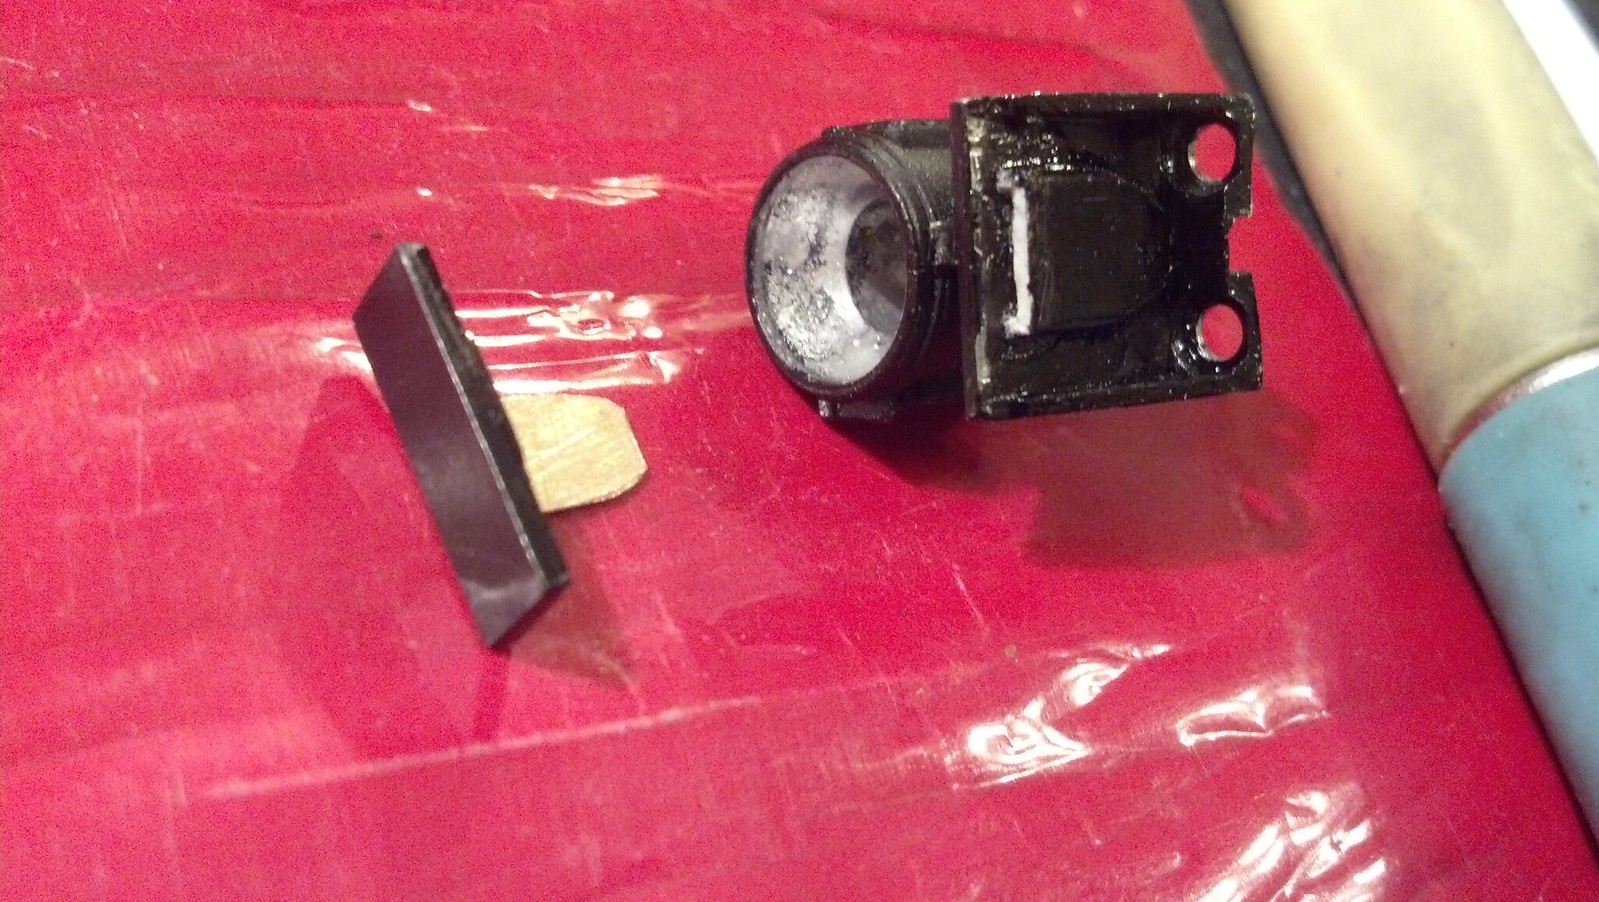
Adding the bell castings required filling the existing mounting holes from the headlight.
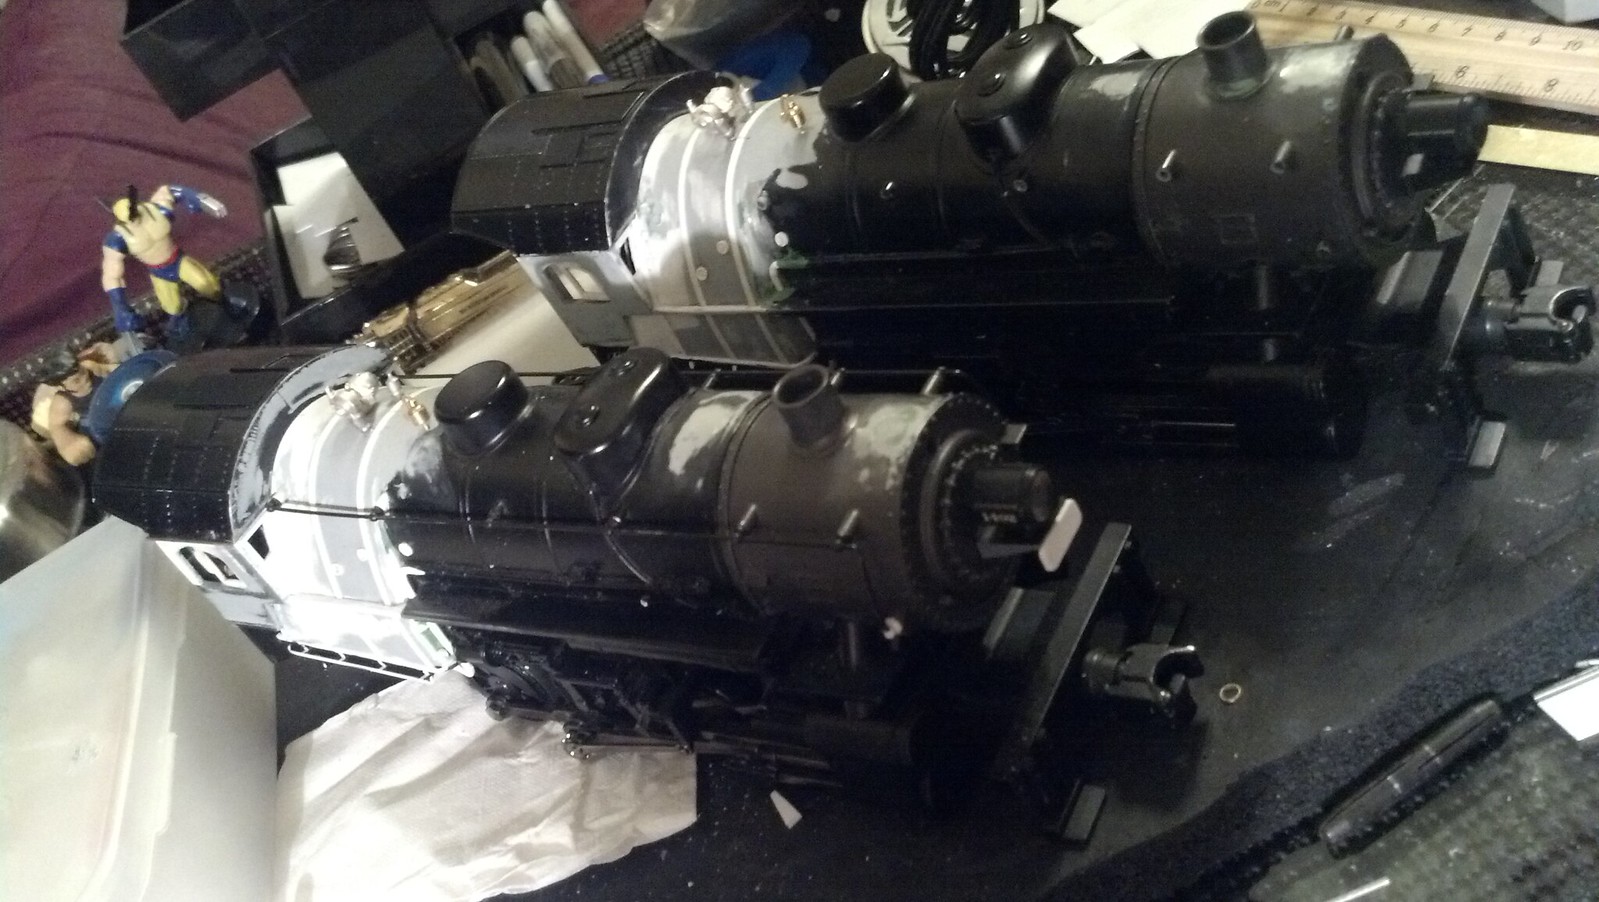
For comparison, here’s #1492 next to another MTH USRA 0-8-0 I had on hand.

Shells painted:

The bell casting from Precision Scale Co is nice, but it didn’t have a clapper, so I had to make my own.

After gluing on the number boards, I realized that it was now impossible to unscrew them from the boiler casting, which is necessary to install the light bulb. So I had to devise a removable number board so that the owner can service the headlight in the future.
Details painted out. The marker lights don’t illuminate. I’m sure I could have made them illuminate, but that wasn’t part of the original contract. 🙂
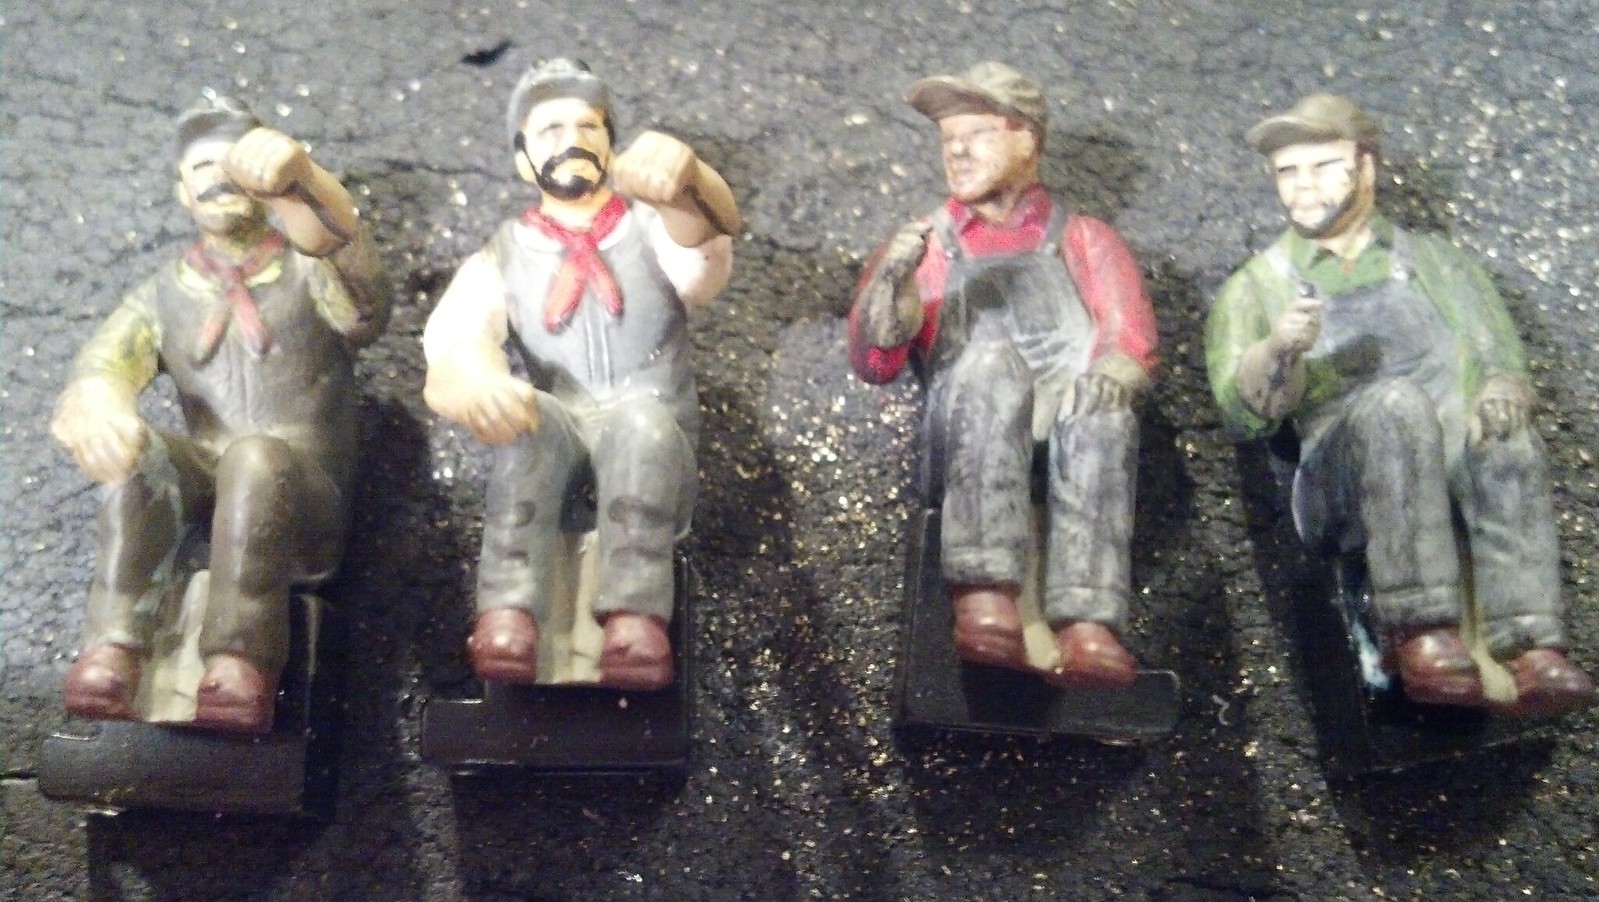
I was set to reinstall the engine crew figures, when it occurred to me that it was odd that there were a set of clones running the two locomotives. So I got creative and changed them up. For what it’s worth, I think the one in green kinda looks like me.
Other than the front number boards, these puppies are ready to ship. (I ran out of decals, had to order another set.) For comparison, that’s my personal E5sa in the back.
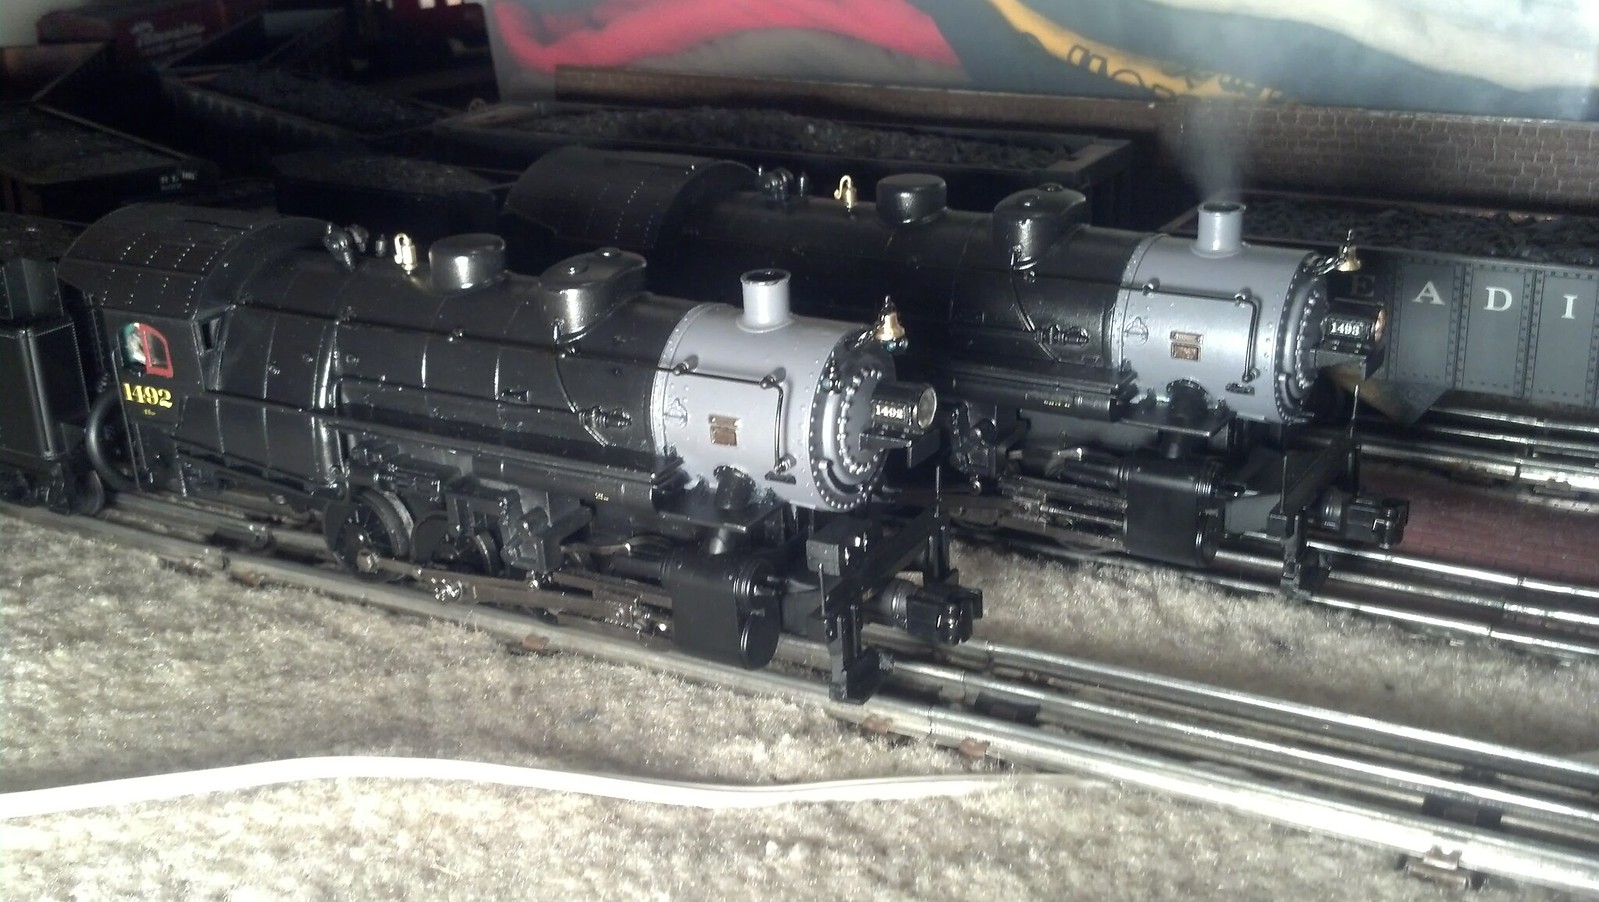
The client described running these engines double-headed on his home pike as “a dream come true.” It was a pleasure working on them.

Awesome work Brian, very inspiring!! I grew up in Penna and had a chance to ride behind the 2102 on the BM&R. It even came within a mile of my hometown on a special excursion in 1985. Love the reading and I love steam!! Now if we could convince the mfr’s to make a K1sa…!
Turning a PRR I-10 into a K1sa is on my “some day” list, along with turning a N&W Y-3 into an N-1.
Again, your work methods sit just right,…You inspire me to go and finish that old S gauge Dreyfus Hudson that I started back in 1978, or taking that S gauge brass kit of a Nickel Plate Berk, and really doing a L & N ‘Emma”,,,I too have been grinding details off of Flyer locos lately,,BUT, you have carried your projects through..A true mate..Arnold Kloian